

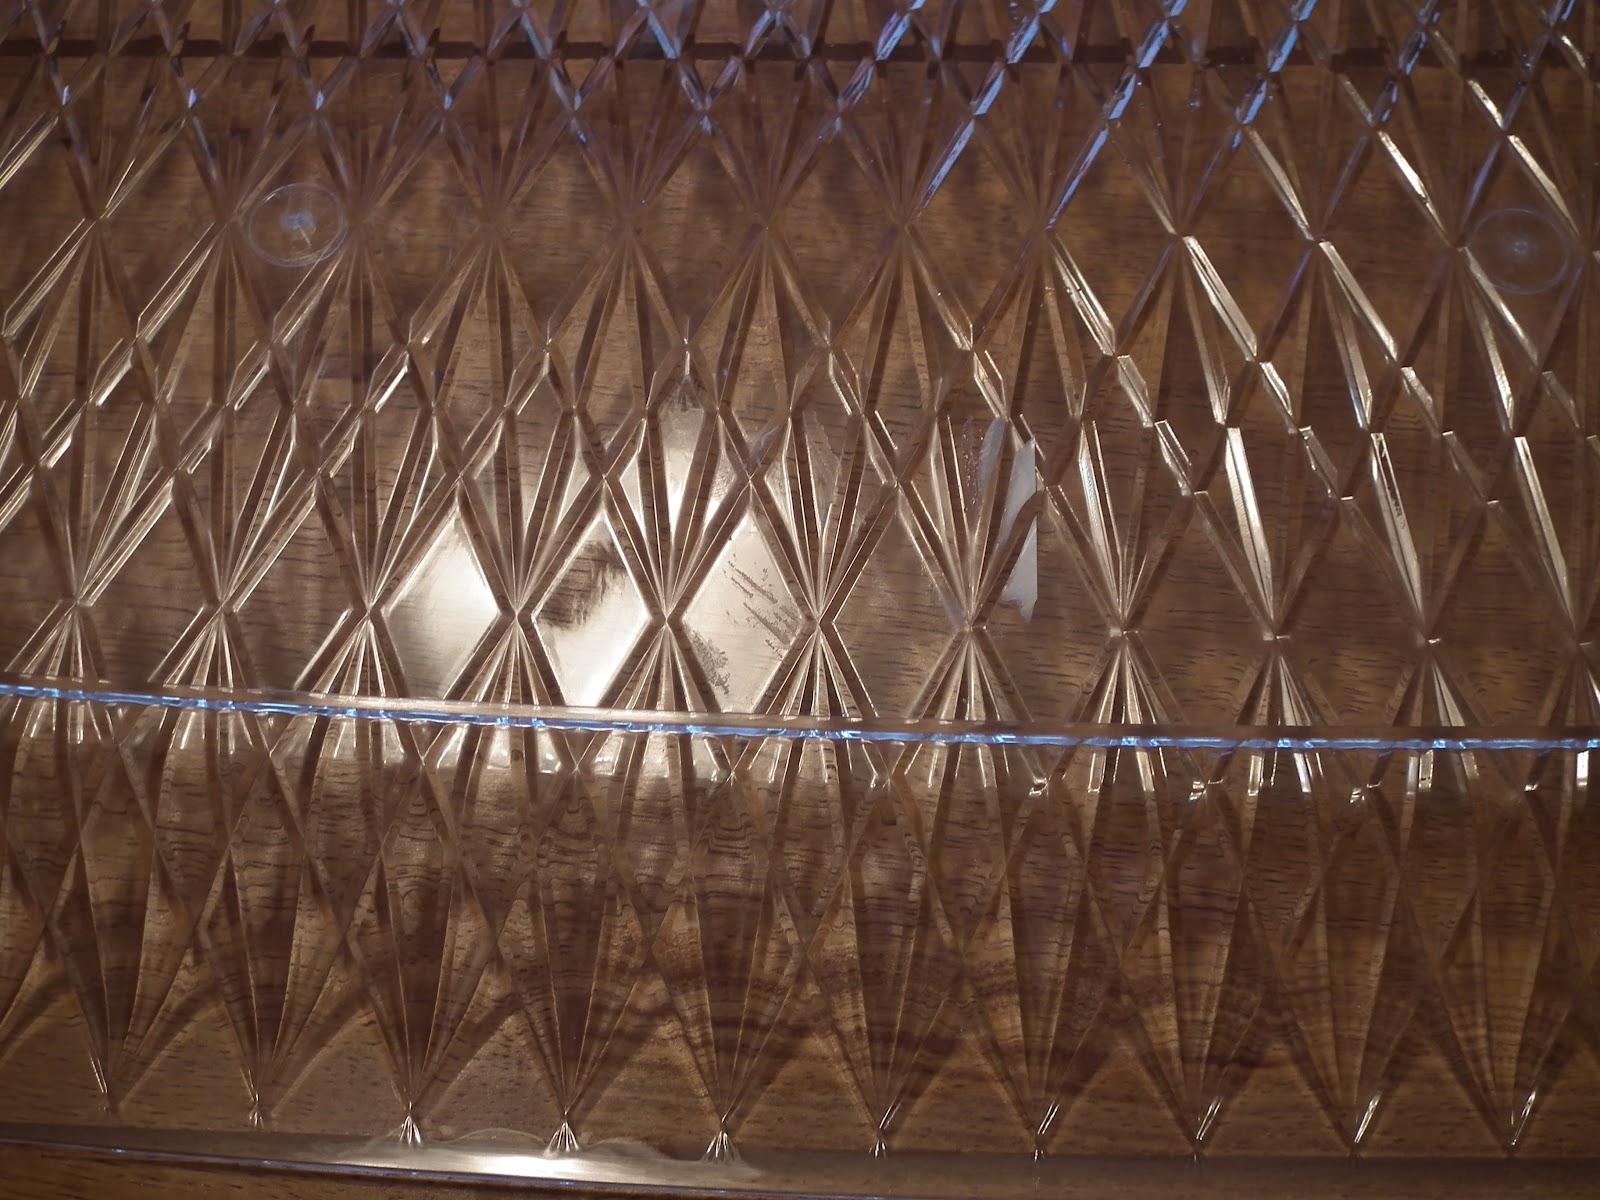
Today I am showing you an easy, super-cheap little tray. I bought a tray from the Dollar Store yesterday that they sell near the plastic party supplies/trays/serving bowls. It is acrylic, clear, and semi-durable. By that I mean you can set things on it, but I wouldn't go and put a whole tray of drinks on it or anything and carry them around. I love that it has a diamond "print" on it:
I also bought some contact paper at the Dollar Store to spruce up my tray. I have seen lots of trays done like this on Pinterest or other blogs. Some have used wrapping paper, wall paper, or even cardstock to line a tray. I liked the contact paper so that I didn't have to mess with glue or adhesive.
My tray slopes down slightly in the middle from the sides so tracing it onto my contact paper was not really an option. What's a girl to do? Then my little brain got-a-thinkin'. I simply flipped the tray over since the edge outline from the main part was on the back. I put my contact paper over it and used my thumb to go around the edges to mark a crease where the outline was. Does that make sense? Oh good. Here is what the paper looked like creased:


Then all I had to do was cut out the piece of contact paper following the creased outline.

I carefully pressed the contact paper in the tray, lining it up to the inside part, being careful to only take a little of the backing of the paper off at once and smoothing air bubbles out as I went. Here is my little tray all dolled up:

I love how it turned out! Isn't it cute? I am so glad I only covered the inner part since the edge looks so pretty. I put it in our master bath to hold some necessities:


I used a glass votive holder I have to hold some earrings:
 I plan on making more of these since they are super-cheap and super-cute and took me under 10 minutes to make! How about making one to gift cookies to someone or give one to a teacher with some pretty notepads and pens tied to it with a ribbon? (hint, hint, any of my students reading this???) The possibilities are endless.
Linking up to :
Savvy Southern Style--Wow Us Wednesdays
Fireflies and Jellybeans
Nifty Thrifty Things-Sunday
House of Hepworths--Hookin Up with HOH
Somewhat Simple
One Creative Weekend@One Creative Mommy


That is awesome! I'm definitely going to be a copy-cat and make one of these. Gotta love the Dollar Store!
ReplyDeleteLori : )
Thrifty Decor Mom
That is really cute, Nicky. What a good idea and I love that you left the edges just as they are. The Dollar Store really has some amazing things, doesn't it? xo Diana
ReplyDeleteGreat idea! It would make a cute gift for co-workers. Love the paper you chose. So pretty.
ReplyDeleteOh I love this and the fact that it came from The Dollar Store! These would be awesome as gifts filled with goodies. Thanks for more inspiration :)
ReplyDeleteGreat job Nicky! You are so creative! I love the way it turned out. I too made a tray with shelf lining paper.
ReplyDeleteOn my blog.
Xoxo Claudia
what a quick and easy to way to make an inexpensive tray look expensive! Well done!
ReplyDeleteHow cute is that! Great job! Thank you for sharing. Visiting from A Glimpse Inside. Would love it if you would share this at my Make it Pretty Monday party at The Dedicated House. http://thededicatedhouse.blogspot.com/2012/08/make-it-pretty-monday-week-9.html Hope to see you at the bash! Toodles, Kathryn @TheDedicatedHouse
ReplyDeleteWhat a great idea! I love it. Thanks for sharing on Marvelous Mondays!
ReplyDeleteThat looks so pretty--and so simple! I just joined your site through google. Thanks for joining the party at One Creative Weekend!
ReplyDeleteThat is very creative of you. It's really very generous of you to share this. Thanks!
ReplyDelete