Monday, August 27, 2012

Making a List...Checkin' It Twice.....

This is going to be a quickie post because 1) I am a teacher and today was our first day for students (and therefore I am ready to drop!) and 2) this is a really simple idea that doesn't take tons of explanation.  Why am I posting about it then?  Because it worked.

Okay, granted, for one day.  But hey, my little Riley is super-grumpikins in the morning.  My hubby would say she gets it from me.  Not true.  Okay, maybe a little.  I knew this school year since I was the one that would be getting her up and ready in the mornings before school, that I needed a plan.  I have read some good ideas about having checklists for kids to follow in the mornings.  So last night I whipped up a little morning checklist.


Wouldn't you know my little Riley loves checklists?  When I told her about it before bed last night, you would have thought it was Christmas Eve.  She couldn't wait to get up to see and do her checklist.

This morning was a dream.  She came into my bathroom and said "Good Morning, Mommy."  Check.  "I'm going to go get dressed." Check.  Woo Hoo!  No yelling, stress, or repeating myself.  She did the whole checklist in order and was so proud of herself.

Tonight I of course made a Bedtime Checklist.  I let her sit on my lap while we typed up what should go on this list.


Yep, worked like a charm.  Have another copy of the Morning Checklist ready for the morning.  I don't know if this will last forever, but I do know that my daughter is just like me, she likes lists, and I like the ease of her not forgetting things and me not having to remind and nag her.  She is learning responsibility and I am saving time and energy!  It's a win-win.   I may laminate the checklists so I don't use tons of paper and she can just use a dry-erase marker to check things off.


Has anyone created checklists for older kids?  My sons, 12 and 16, would totally not go for something like this, but I  would love to think of something that is age-appropriate that they would actually use.  They have school stuff and football gear to take to school and it's a lot to remember.  I would also keep the brushing the teeth on a list for them.  :)

Sharing this project with:
I Heart Organizing
Six Sisters Stuff
Pin It!

Friday, August 24, 2012

Family Information Station

Currently we have a bulletin board on a little wall in our kitchen that is connected to the dining room.


We've had it a while so the cork in it is pretty hole-y.  I used to write Sunday-Monday on the dry erase part to tell what was going on that week with practices, games, and appointments.  This summer I have been totally lazy about writing on it at all!

With school starting, I knew I needed to get my act together.  My step-son, Karch, is now a junior and the kicker for our football team.  My son Colin is going to junior high (help me) and plays on the 7th grade football team, and Riley is going into second grade and plays soccer!  Needless to say, we are going to be busy.  The little cork board and magnet-mounted-fridge calendar weren't going to cut it.

I totally changed how this little wall between our dining room and kitchen functions.


Enter the Board Dudes Dry Erase Calendar Board.  Love it.  Recently Jen from I Heart Organizing (AMAZING site) featured many of "The Dudes" products.  I found my calendar board for $15.99 at Hobby Lobby.  No, I did not have a coupon, but if you did, that would be a deal.  The board is large and magnetic.


I wasn't a fan of the white frame so I decided to give it a little character and paint it.  I painted it this pretty green, then used a sanding block to distress it some.


To take my board one step further, I typed out numbers 1-31 onto colored cardstock and laminated them for durability.  I put a tiny piece of magnet on the back.  I did this because I did not want to write the numbers in ....I knew they would get smeared when we wrote on the board.  With the magnets, each new month all I have to do is move the numbers where they need to go.


At the bottom of the board, I used Command hooks (the small, clear ones) to attach to the bottom.  I did not want to drill holes in the board in case in the future I don't use hooks anymore.  Command hooks allow me to take them off without the damage.   I used chipboard scrapbooking letters that I already had to label each hook with our three kids' initials.  (We have four kiddos, but one is at college)


I used plastic sleeves since they protect and have the holes on the side to put on the hooks to store the kids' schedules and other information that may pertain to the calendar.  Even though events and times are written on the calendar, sometimes I need to refer to the info. the coaches hand out like away-game directions.   This way the information is right there and I don't have to go to another place to find it.  Also, the boys like to have information, too, and they don't need to ask me where their papers are hiding.

As the school year starts, I may end up putting each of my children's school information sheets on upcoming events in here, too, since you can put many sheets in these protectors.   This way if they are looking for something, they know they can go to their hook and look in their plastic sleeve for it.

I also put up one of my frame-turned-message boards {see my post about how to make one HERE}  where we write items that we are out of and need to get at the store.  (And cleverly spelled out "GET" with the same scrapbooking letters I already had that I used for the kids' initials)  This is a beauty because if you have a phone with a camera, you can just take a picture of your list and you have it at the store with you!  I did this recently and was waaaaaay pleased with myself for thinking of it.  :)   I used the curtain tie-back that came with curtains I have to hang the frame.


To complete our little family information station wall, I added a paper flower I made out of a paper bag (see tutorial on THIS great site), a funky little wreath I had, and a framed "Love Your Nest" print I made.  I already had all of these items or all of things that I needed to make them, so the only thing on this wall that I bought was the dry erase board!


As we start to use our Information Center, I may need to tweak it or add to it to make it more user-friendly for our family.  I'm pretty happy with how it turned out and feel much more on top of things for when the school year starts.


Sharing this project with:
Romantic Home:  Show and Tell Fridays
The Shabby Nest
Honey We're Home
Tutus and Teaparties-A Pinteresting Party
I Heart Naptime
One Creative Weekend
Flour Me With Love
Funky Junk Interiors
I Heart Organizing
Six Sisters Stuff
Brassy Apple
Pin It!

Saturday, August 18, 2012

DIY Jewelry Organization--Muffin Tins


I have to admit my jewelry is a mess.  I have been using that little jewelry drawer that is at the top of our dresser since we've had our bedroom furniture.  It's lined with velvet, is shallow, and has plenty of space to store a lot of jewelry. And a lot of mess!  Nothing in my jewelry drawer is worth much, just sentimental.


Plenty of space, yes, but unless you have a way to organize it, you can end up with a jumbled mess, like me.

I have organized this drawer many times.  The problem is, when I am looking for something, or taking my jewelry off at night, I am in a hurry and just put it wherever.  Guilty.  In the morning I have to frantically look for the match to my earring or un-jumble bracelets to get to the one I want.  Because the spaces in the containers I have in there are so large, little things like earrings and bracelets get lost in the heap.

I saw somewhere on Pinterest that you could use a muffin tin to store small pieces of jewelry.  Genius!
Since I use our muffin tins and don't have extra, I decided to go to Big Lots.   I figured a mini-muffin tin would be perfect for earrings and flexible bracelets.   Of course, it didn't stay silver and shiny for long.  It became fun and funky with a little spray paint.


Isn't the color fun?  Then it become filled with jewels, not muffins.


They worked PERFECTLY!

I laid out my most-worn necklaces beside the tin.  I decided to get rid or donate items that were not valuable or sentimental that I did not wear or use.


If you have any muffin tins that are extra and some spray paint make yourself a handy little jewelry organizer!  These tins are not just for muffins anymore!

Sharing this project with :

Hi Sugarplum!
Positively Splendid:  Saturday Seven Party
I Heart Naptime--Sundae Scoop
Not Just a Housewife-Show Me What Ya Got
Savvy Southern Style--Wow Us Wednesdays
Tutus and Teaparties-A Pinteresting Party


Pin It!

Thursday, August 16, 2012

School Practice Binder to Use at Home

You know with me being a teacher and all, I'll have to have some posts about how to organize your child at home to be successful at school.  This idea will work great for elementary and middle-school students I'm sure.  Not so sure about your older kiddos (I have two and they would say, "that's cool" and never use it).


My daughter Riley is going into second grade in my building.  I am lucky that I am a teacher there and know the curriculum of this grade level well.  However, you do not have to be a teacher to make a binder like this!

Here is what you will need to make a practice binder for your child at home:

*A binder:  at least 1 1/2 inches, preferably one that has the "view" plastic sleeve in the front that you can put a paper in it labeling and personalizing the binder

*plastics sleeves, probably 10-12

*tab dividers, 6-8

*contents for your binder will come from your child's teacher unless you have things at home you use to practice that can go in there too


WHY a practice binder?  As a teacher and mom, I know that practicing math facts, spelling words, reading, and vocabulary is overwhelming for parents.  Most teachers have kids, too, and people think that we read two hours a night with each child and practice math facts for an hour.  This is not true, at least not in my house! Of course I practice with her but realistically all households are busy and it is hard to stay organized and on top of things on school nights.  Having flashcards here and her reading book there and spelling paper tacked up on the bulletin board another place drives me crazy.  That is why I wanted a place that she and I could go to where all of the things that she needs to practice are housed.

Here is what is in her binder so far.  I made the front fun and creative so she would be excited about it.  I downloaded a font from Kevin and Amanda's Free Fonts.  I glued the white paper to a piece of scrapbooking paper I had to make it even cuter!  You could even take a white piece of paper and have your child decorate it to use as the cover.


In the pencil pouch (which her brother used last year so I didn't have to buy a new one) we put her math flashcards.  When she gets other flashcards from her teacher this year (could be math, vocabulary or whatever) we will put them in here.  Once she has mastered a skill, they can come out so it doesn't get too crowded.

My tabs are labeled :  MATH FACTS, SPELLING, READING, WORD LISTS, OTHER.  You might label them something different depending on your child's grade and teacher.

Right now the only items I have in here are items I already had at school--word lists for her grade level that I know she will need to know how to read and spell.  However, her teacher, like most teachers, will be giving her spelling lists and other papers that are important to her grade level to know.  These papers will go in the plastic sleeves to have handy to practice.  No more hanging on the fridge or bulletin board or stuffed in a pile of papers on the counter!

Some nights I am sure Riley will have homework and we will be busy and she won't get to use her practice binder.  However, there will be lighter nights where we can practice math facts and word lists for a few minutes.


I hope I have inspired you to get organized for the school year!  Whatever works for you , a binder, box, or container, have a designated place for the items I've mentioned.  It will help you keep your sanity and make your child more successful in school!

Sharing this Project with:

Fireflies and Jellybeans
Katie's Nesting Spot-A Crafty Soiree
House of Hepworth's 
Tutus and Teaparties
The 36th Avenue
Not Just a Housewife
I Heart Organizing
Pin It!

Tuesday, August 14, 2012

Organizing--Linen Closets and Master Bathroom Done!

 Recently I showed you some pics of my linen closet and master bathroom storage.  To refresh your memory, they looked like this:


I know, a little scary.  I never hated our linen closet or what I had in it, it worked fine and held what we needed.  However, after deciding I wanted to rework our master bedroom cupboards and storage, I knew I needed to re-organize the linen closet as well.

In the bottom of our linen closet was a large 3-drawered storage unit.  It worked fine except the top drawer was cracked and due to other things I had stuffed on the side of it between it and the wall, the drawers did not smoothly open, they would get stuck and we ended up yanking and pulling to get drawers open.  In these drawers we stored extra toilet paper, sheets, and pillow cases.

To start organizing, I took everything out of the linen closet.  I went through all of our sheets and sets.  I decided that we needed only one back-up set for each bed, not two or three.  I also had a few mis-matched and lonely flat and fitted sheets that were in good shape, but belonged to sets that were long gone.  I kept only one extra set for each bed, and several extra pillow cases that we have.  This substantially lessened the amount of bedding in our linen closet.    I donated the sheets and pillow cases that were extras and that I didn't want to Goodwill.  Good for me, good for them.  I took the sheets I was keeping and a couple light throws and blankets and put them on the top shelf.  {We have some cupboards in our finished basement that hold more blankets and throws for guests or sleepovers}.

Since the plastic drawer system was partially cracked and not working, I took a cubbie unit out of my daughter's closet that I have been wanting to change to see if it would fit where the plastic storage unit sat.  If I lifted up the bottom shelf in the closet (which thankfully went up easily---I did not want to take screws out and leave huge holes in the wall) the cubbie unit fit perfectly!  Yeah!  I love when a plan comes together.    Her closet will be organized soon and I have a different plan for it that does not include the cubbie unit.

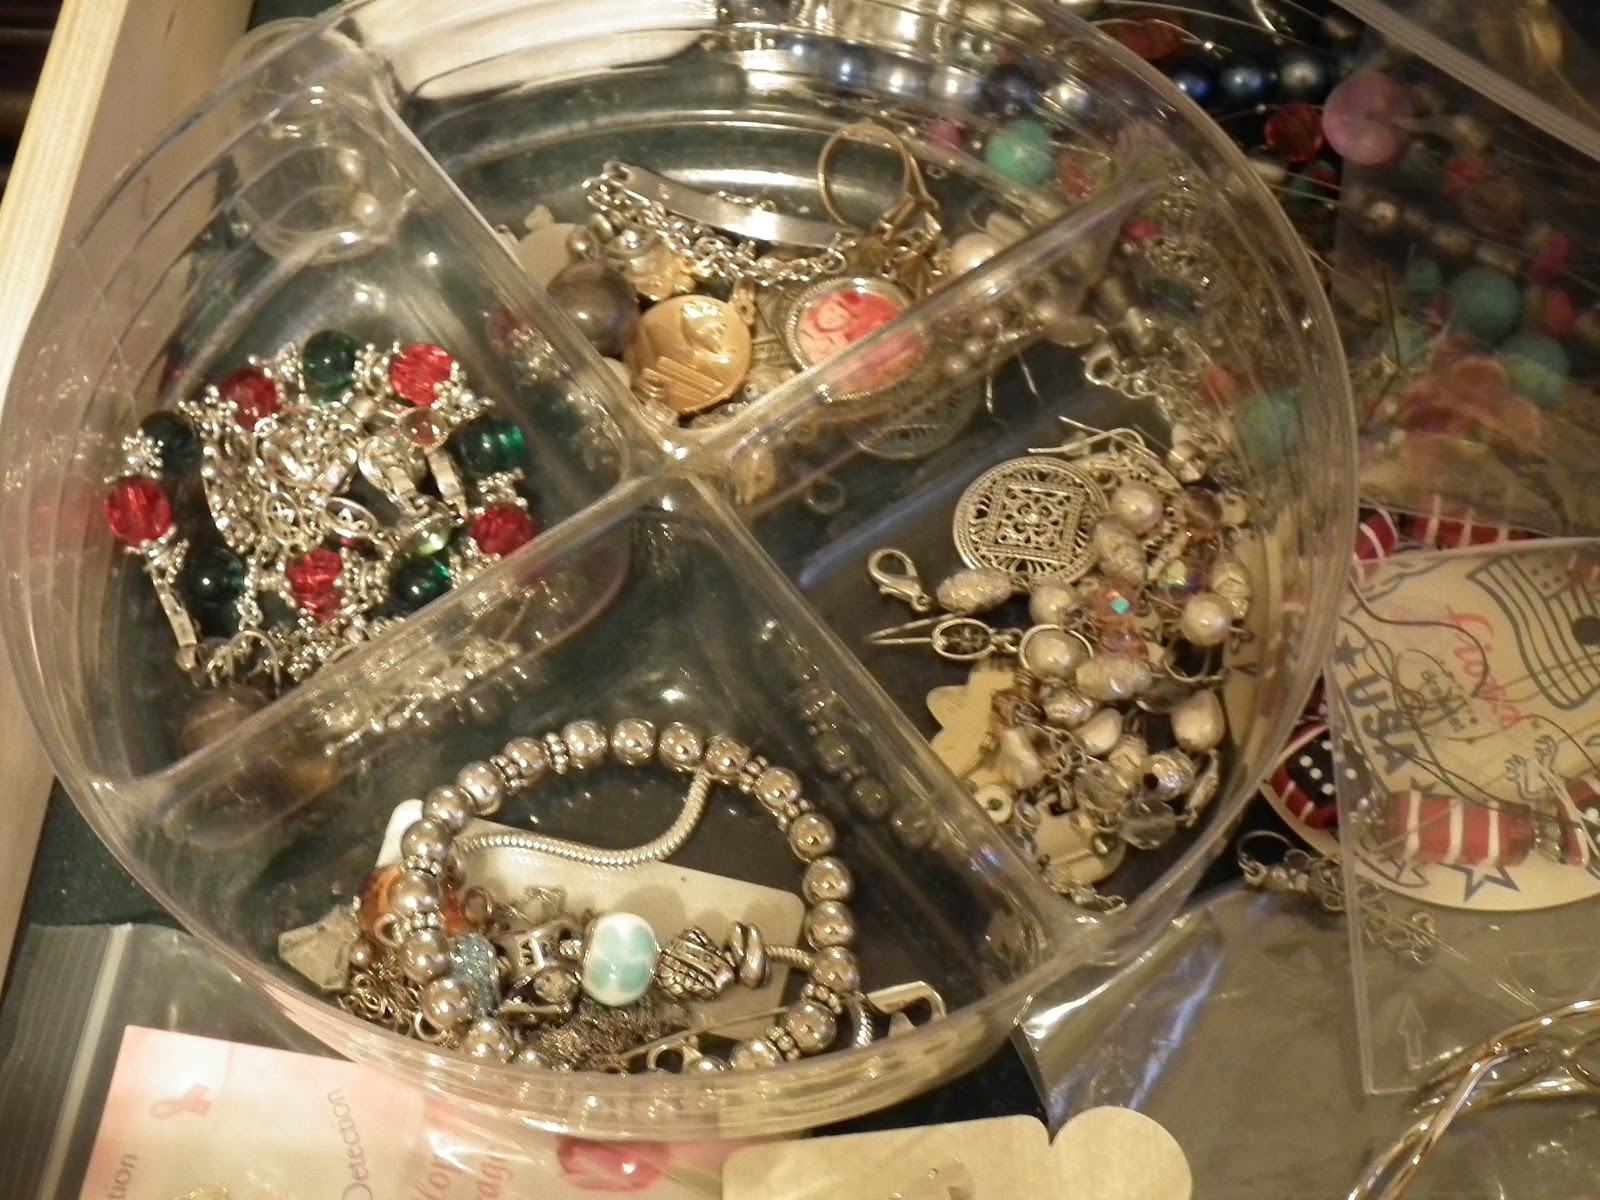
I purchased 3 baskets from Jo Ann's (which I posted about {HERE}) that I put bookplates on and labeled as to their contents.


During cleaning out the mess underneath the bathroom sink in the master bath and in the buffet that we have in there, I realized that many things were out of date.  How often do you check to see if ointments, medications, and lotions are expired?    I bet you'd be surprised how many items you've had for years.  After I threw away all expired and unwanted items, I really was left with WHAT I REALLY USE.  Who needs 5 different kinds of body lotion?  You know as well as I do that we tend to use our favorite 1 or 2 the most and the rest just sits in the cupboard.  I went through and tried to be honest with myself on what I really use, what I really have space for, and what I really need.  It was hard to throw away things that cost good money, but if I am not going to honestly use them, they are going to expire anyway.  Plus, they are taking up good space and cluttering my life, which I don't want.
Now I only have what is in-date, what I use, and what I have space for.  YIPPEE!!!  That feels good.


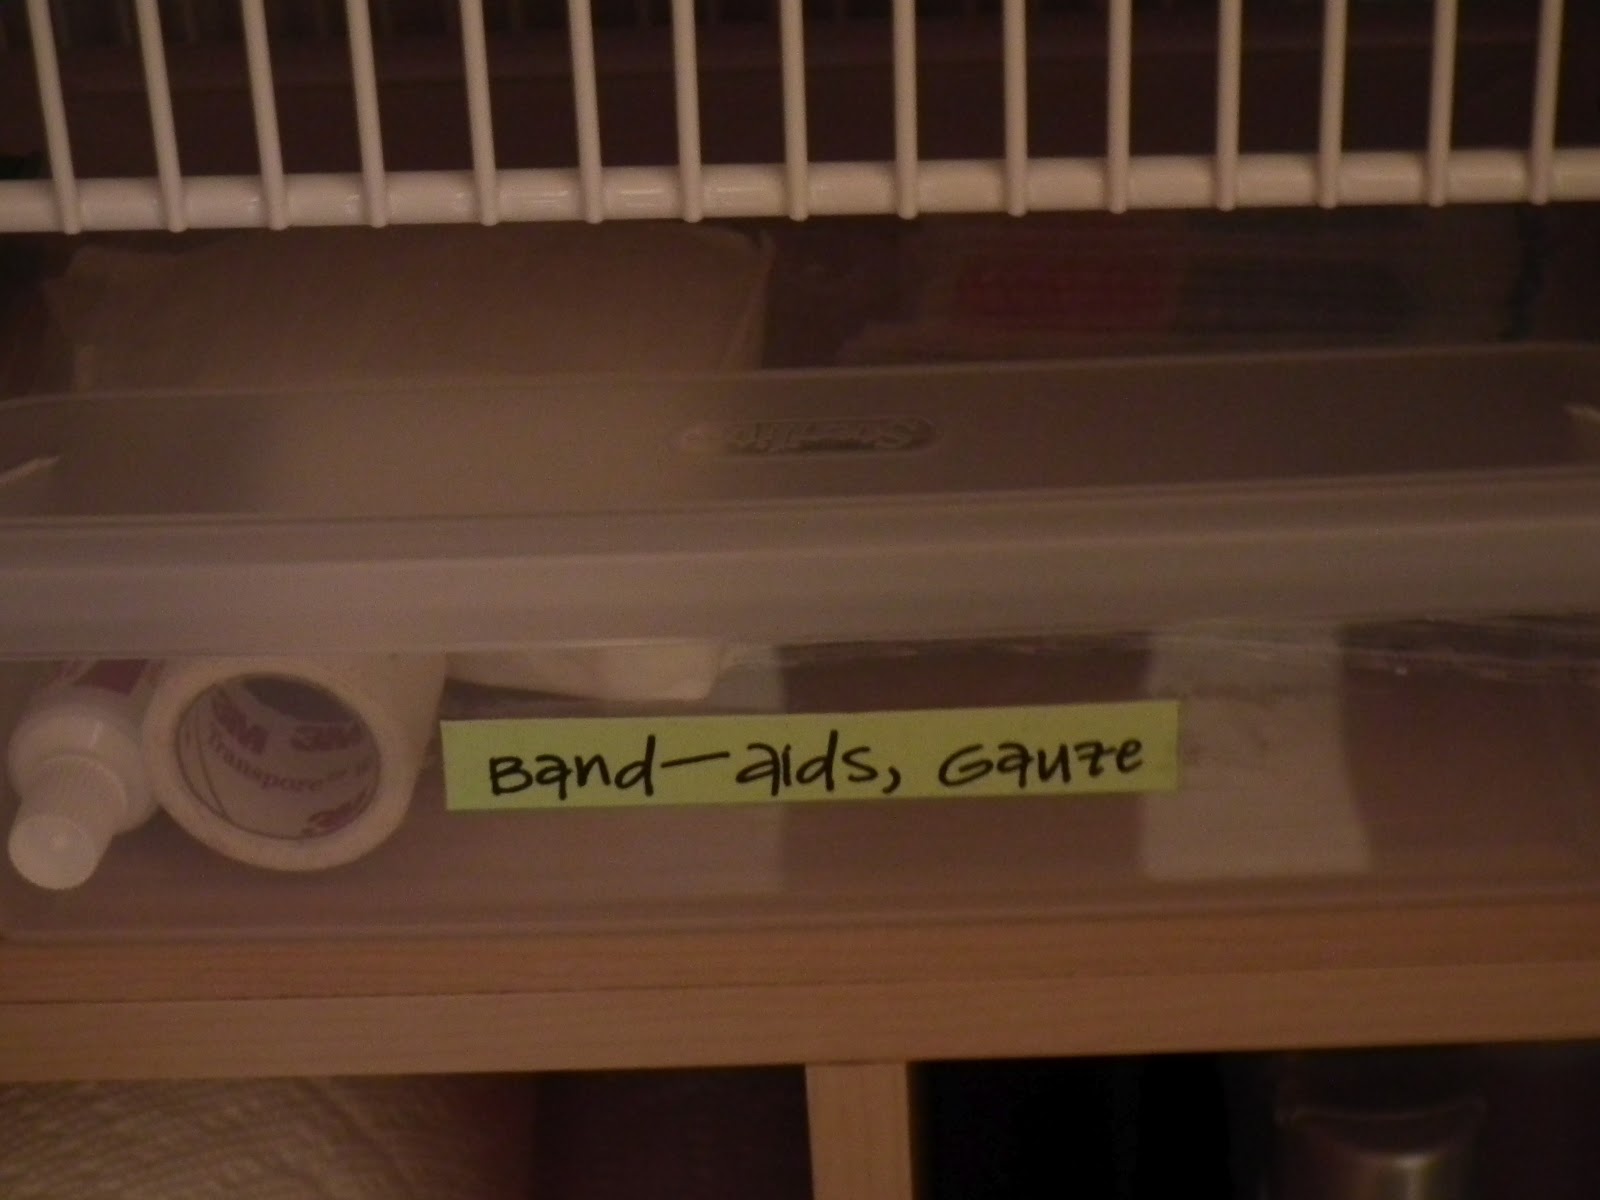
In the linen closet is the small container that perfectly slides on top of the cubbie unit.  This holds different sizes of bandages, first-aid ointment, and light gauze.  This way the kids can get their own band-aids.  (I do store a couple band-aids in our "junk drawer" in the kitchen to have on hand there, too, you can read about organization of that drawer and the whole pantry in {THIS} post)


The master bathroom cabinets are now partly empty.  I moved so much to the linen closet and got rid of so many unwanted, unneeded, and expired things that there is plenty of space now!!!  Here is what I have stored in these cabinets now:


I kept a small set of cleaning supplies just to use in this bathroom to clean and in the red bin are larger, awkward items such as heating pads, wrist braces, and wraps.


On this side of the cabinet razors are kept in a small container, my curling iron, hair dryer, and straightener are in a basket to keep the cords from being everywhere, and my personal products--I always take them out of the box/package- are stored in the teal basket.

Look at all of the space left in these cabinets!!!

In the buffet that we have in our master bathroom (we also have one of these in our great room and I love it--so much storage), I use the drawer for my everyday toiletries, make-up, hair products and items, and body products.  I love using the drawer organizers (I've had these a while--from Bed, Bath and Beyond) for each type of thing.  My hair products go in one, moisturizers/body products in another, and hair pins, ties, clippers, and tweezers in the one that has small compartments.  I always know where stray pony-tail holders go, and never have to look for my tweezers or nail clippers.   On the top of the buffet, I have my DIY tray (I posted recently about this HERE) with cotton balls and swabs and a glass votive holder that holds my earrings when I take them out at night.


In the large space below, I store our towels in a basket.


I have a small drawered unit with shoe products (polish, spray). aloe for sunburns, and other misc. items. (Before  I had two of these drawered plastic units in my bathroom storage before, but now one is housing Riley's hair ties, bows, and headbands...I will post about that soon!)

There is also this little container holding all of my nail items--polish, files, and remover.  It's really nice just to pull this out and have it all in one place!

I also have room to store a couple boxes of tissues and a ball jar that I keep plastic grocery sacks in to line our bathroom trashcans.

Here again are the before and afters:

Linen Closet Before:

After:

Master Bathroom Cabinets before:

After:


Buffet in Master Bathroom Before:


 After:


WHEW!!!   It didn't take me long nor did I really have to buy many organizational things to help me get these places organized.  I love how they look, but even more, I love how they function!

Sharing with:
Southern Savvy Style-WOW Us Wednesdays
Trendy Treehouse-Wednesday
Someday Crafts-Whatever Goes Wednesday
Southern Lovely-Show and Share Wednesday


Pin It!
Related Posts Plugin for WordPress, Blogger...